Lip Balm
How To Make 2 Different All Natural Lip Balms In 5 Minutes!
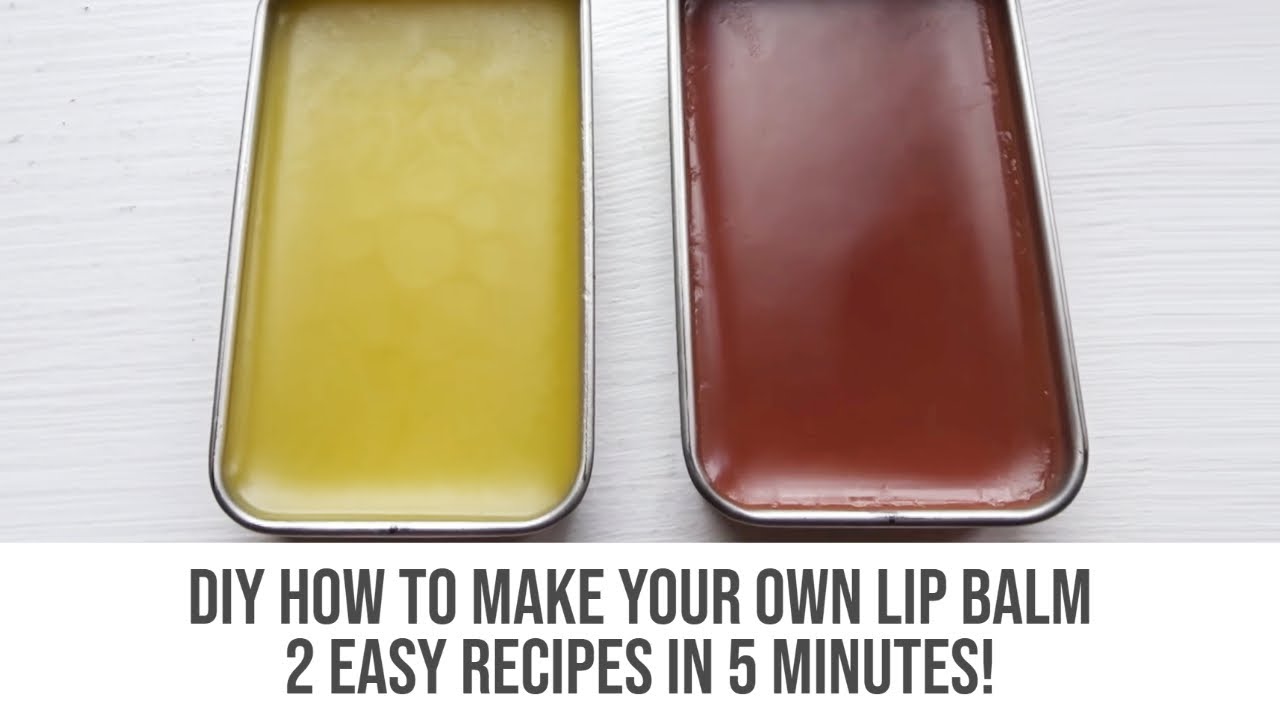
DIY Lip Balm ... 3 Ways! (Pomegranate, Lavender Mint & Lavender Lemon)
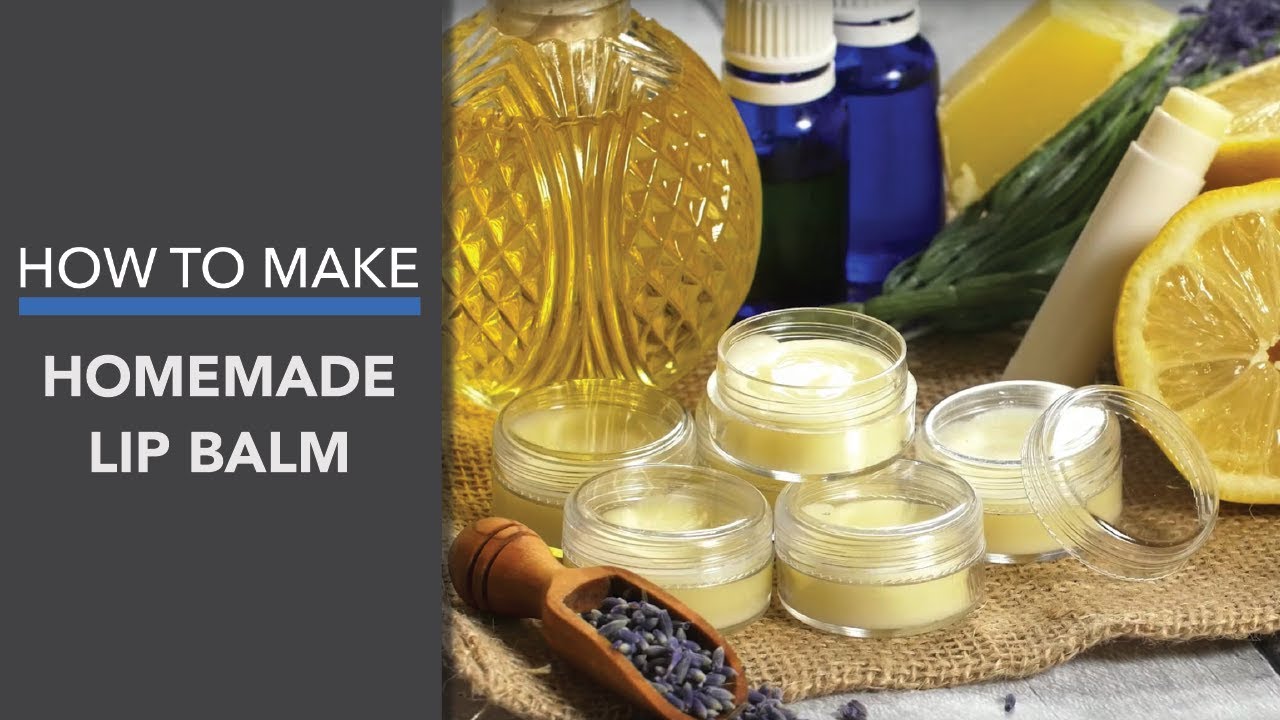
Creating your own natural lip balm is a rewarding and straightforward process that allows you to customize the ingredients to suit your preferences and needs. Not only is it a fun DIY project, but it also ensures that you know exactly what you're applying to your lips. This guide will walk you through the steps to make a simple, nourishing lip balm using natural ingredients.
Benefits of Making Your Own Lip Balm
- Customization: You can tailor the ingredients to your liking, whether you prefer a certain scent, flavor, or level of moisture.
- Natural Ingredients: Avoid synthetic chemicals and preservatives found in many commercial lip balms.
- Cost-Effective: Making lip balm at home can be more economical than purchasing high-end natural products.
- Sustainability: Use eco-friendly packaging and reduce waste by reusing containers.
Essential Ingredients
To make a basic natural lip balm, you'll need the following ingredients:
- Beeswax: Acts as a base and provides structure to the balm. It also helps to lock in moisture.
- Carrier Oils: Such as coconut oil, sweet almond oil, or olive oil. These oils provide hydration and nourishment.
- Butters: Like shea butter or cocoa butter, which add creaminess and extra moisturizing properties.
- Essential Oils: For fragrance and additional benefits. Popular choices include peppermint, lavender, or vanilla.
- Vitamin E Oil: Acts as a natural preservative and adds antioxidant benefits.
Equipment Needed
- A double boiler or a heat-safe bowl and a saucepan
- Measuring spoons
- A small whisk or spoon for stirring
- Lip balm containers or tubes
- A dropper (optional, for precision)
Step-by-Step Instructions
- Prepare Your Workspace: Clean your work area and gather all the necessary ingredients and equipment. Ensure your lip balm containers are clean and dry.
- Melt the Base Ingredients:
- In a double boiler, combine 1 tablespoon of beeswax, 1 tablespoon of shea butter, and 2 tablespoons of coconut oil.
- Heat gently, stirring occasionally, until all the ingredients are completely melted and combined.
- Add Essential Oils and Vitamin E:
- Remove the mixture from heat.
- Add 5-10 drops of your chosen essential oil and 1/4 teaspoon of vitamin E oil. Stir well to incorporate.
- Pour into Containers:
- Carefully pour the mixture into your lip balm containers. If using tubes, a dropper can help with precision.
- Allow the balm to cool and solidify completely, which may take about 30 minutes to an hour.
- Label and Store:
- Once solidified, label your lip balm with the date and ingredients used.
- Store in a cool, dry place away from direct sunlight.
Tips for Customization
- Color: Add a small amount of natural colorant, such as beetroot powder or cocoa powder, for a tinted balm.
- Flavor: Incorporate a few drops of food-grade flavor oils for a tasty twist.
- Texture: Adjust the ratio of beeswax to oils for a firmer or softer balm. More beeswax will result in a firmer texture, while more oil will make it softer.
Troubleshooting Common Issues
- Grainy Texture: This can occur if the balm cools too slowly. To fix, re-melt the balm and cool it quickly in the refrigerator.
- Too Hard or Soft: Adjust the beeswax and oil ratio. Re-melt and add more beeswax for a firmer balm or more oil for a softer one.