Lotion Bars
Return to Lotions
How to Make Lotion Bars with Essential Oils!
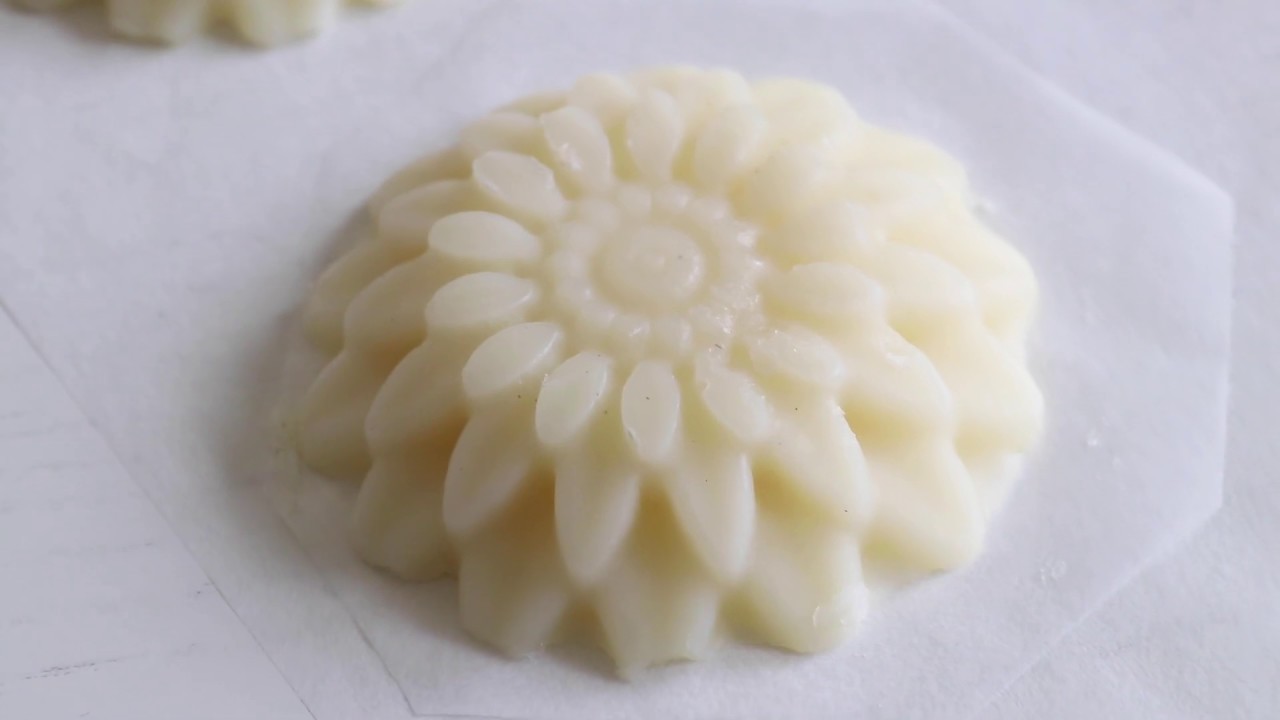
Lotion bars are a convenient and effective way to moisturize your skin. Unlike traditional lotions, these solid bars are mess-free, easy to use, and perfect for travel. They are made from natural ingredients and can be customized with your favorite scents and oils. In this guide, we'll walk you through the process of making your own lotion bars at home.
Ingredients Needed
To make lotion bars, you'll need a few basic ingredients. These can be found at most health food stores or online:
- Beeswax: This is the primary ingredient that gives lotion bars their solid form. It also provides a protective barrier on the skin.
- Butters: Common choices include shea butter, cocoa butter, or mango butter. These butters are rich in vitamins and provide deep moisturization.
- Carrier Oils: Options include coconut oil, almond oil, or jojoba oil. These oils help to soften the skin and add additional moisture.
- Essential Oils: These are optional but can add a pleasant scent and additional skin benefits. Popular choices include lavender, peppermint, or tea tree oil.
Equipment Needed
Before you start, gather the following equipment:
- A double boiler or a heat-safe bowl and a saucepan
- A silicone mold or muffin tin
- A stirring utensil
- A measuring cup or kitchen scale
Step-by-Step Instructions
- Measure Ingredients: For a basic lotion bar recipe, use equal parts of beeswax, butter, and carrier oil. For example, 1 cup of each will yield a good amount of lotion bars.
- Melt Ingredients:
- Set up a double boiler by placing a heat-safe bowl over a saucepan filled with a few inches of water.
- Add the beeswax, butter, and carrier oil to the bowl.
- Heat the mixture over medium heat, stirring occasionally, until everything is completely melted and combined.
- Add Essential Oils: Once the mixture is melted, remove it from the heat. Add 10-20 drops of your chosen essential oil(s) and stir well to combine.
- Pour into Molds: Carefully pour the mixture into your silicone mold or muffin tin. If using a muffin tin, you may want to line it with paper liners for easy removal.
- Cool and Set: Allow the lotion bars to cool and harden completely. This can take a few hours at room temperature or about 30 minutes in the refrigerator.
- Remove from Molds: Once the bars are solid, gently pop them out of the molds. If they are difficult to remove, place them in the freezer for a few minutes to help them release.
Tips for Customization
- Color: Add a small amount of natural colorants like mica powder or beetroot powder for a touch of color.
- Texture: For a bit of exfoliation, consider adding finely ground oats or coffee grounds.
- Scent: Experiment with different essential oil combinations to create your own signature scent.
Storage and Usage
Store your lotion bars in a cool, dry place. A tin or airtight container works well to keep them fresh. To use, simply rub the bar between your hands or directly onto your skin. The warmth of your skin will melt a small amount of the bar, allowing you to spread it easily.
Benefits of Lotion Bars
- Portability: Solid form makes them easy to carry in a purse or travel bag without worrying about spills.
- Long-Lasting: A little goes a long way, making them economical.
- Natural Ingredients: Free from preservatives and synthetic fragrances, making them suitable for sensitive skin.