Vanilla, Growing
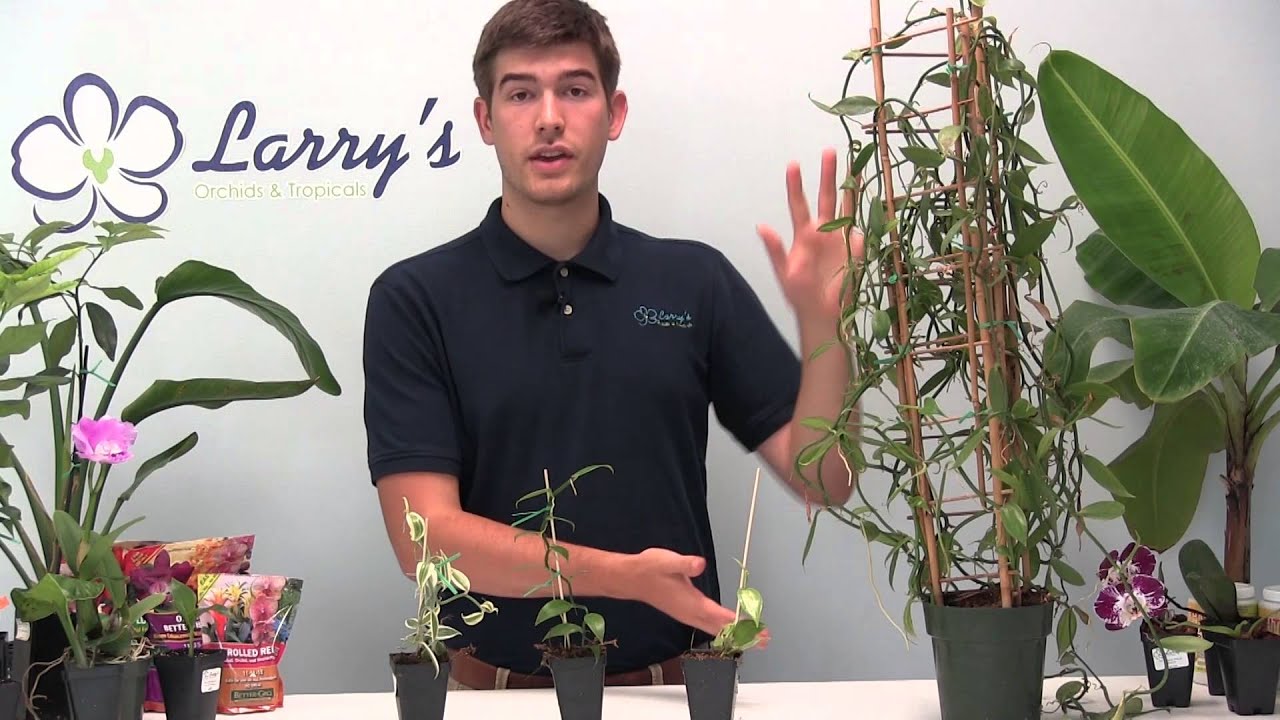
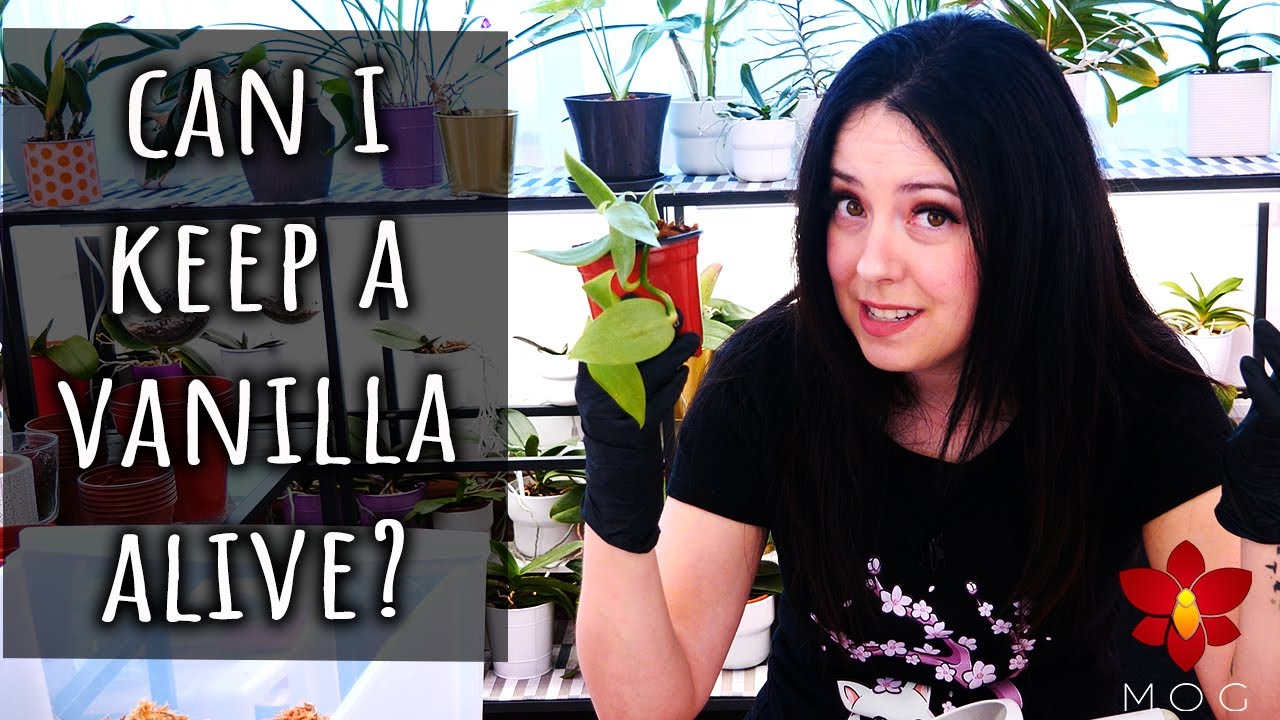
Vanilla, one of the most popular and widely used flavors in the world, comes from the pods of the vanilla orchid. Growing vanilla is a meticulous and labor-intensive process that requires specific conditions and care.
Understanding Vanilla Orchids
Vanilla orchids belong to the genus Vanilla, with Vanilla planifolia being the most commonly cultivated species for commercial vanilla production. These orchids are native to tropical regions and thrive in warm, humid environments.
Key Characteristics
- Climbing Vines: Vanilla orchids are climbing plants that can grow up to 30 feet long. They require support structures to climb and spread.
- Epiphytic Nature: They often grow on other plants or trees, deriving moisture and nutrients from the air and rain.
- Flowers and Pods: The orchid produces greenish-yellow flowers that, when pollinated, develop into long, slender pods. These pods are the source of vanilla beans.
Ideal Growing Conditions
To successfully grow vanilla, you need to replicate its natural tropical habitat as closely as possible.
Climate
- Temperature: Vanilla orchids thrive in temperatures between 70°F and 85°F (21°C to 29°C). They are sensitive to cold and should be protected from temperatures below 55°F (13°C).
- Humidity: High humidity levels, around 80%, are crucial for vanilla growth. Regular misting or a humid environment is necessary.
- Light: These orchids prefer bright, indirect sunlight. Direct sunlight can scorch the leaves, while too little light can hinder growth.
Soil and Support
- Soil: Vanilla orchids require well-draining, loose soil. A mix of orchid bark, sphagnum moss, and perlite works well.
- Support Structures: Provide a trellis, tree, or other support for the vines to climb. This mimics their natural growing conditions and helps with air circulation.
Planting Vanilla
Propagation
Vanilla orchids are typically propagated through cuttings. Here’s how to do it:
- Select a Healthy Vine: Choose a healthy, mature vine with several nodes.
- Cut the Vine: Cut a section of the vine that is about 12-18 inches long, ensuring it has at least 3-4 nodes.
- Prepare the Cutting: Remove the lower leaves, leaving a few at the top.
- Plant the Cutting: Place the cutting in a pot with the prepared soil mix, burying the lower nodes. Water lightly and keep the soil moist but not waterlogged.
Transplanting
Once the cutting has established roots and shows new growth, it can be transplanted to a larger pot or directly into the ground if you live in a suitable climate.
Care and Maintenance
Watering
- Frequency: Water the plants regularly, keeping the soil consistently moist but not soggy. Overwatering can lead to root rot.
- Misting: Regular misting helps maintain humidity levels and keeps the aerial roots hydrated.
Fertilizing
- Type: Use a balanced, water-soluble fertilizer formulated for orchids.
- Frequency: Fertilize every 2-4 weeks during the growing season. Reduce feeding during the dormant period.
Pruning
- Purpose: Prune the vines to control their size and encourage branching. This can lead to more flowers and, subsequently, more pods.
- Method: Trim back any dead or damaged parts and remove excess growth to maintain airflow and light penetration.
Pollination and Harvesting
Pollination
Vanilla orchids require manual pollination, as their natural pollinators are not present in most cultivation areas. Here’s how to pollinate:
- Identify the Flower Parts: Locate the male (anther) and female (stigma) parts of the flower.
- Transfer Pollen: Using a small stick or toothpick, transfer pollen from the anther to the stigma.
- Timing: Pollinate in the morning when the flowers are fully open. Each flower lasts only one day, so timely pollination is crucial.
Harvesting
- Timing: Vanilla pods take about 9 months to mature after pollination. They are ready to harvest when they turn yellow at the tips.
- Method: Carefully cut the pods from the vine using a sharp knife.
Curing and Processing
After harvesting, vanilla pods need to be cured to develop their characteristic flavor and aroma. The curing process involves several steps:
- Blanching: Briefly immerse the pods in hot water to stop enzymatic activity.
- Sweating: Wrap the pods in cloth and place them in a warm, humid environment for several days.
- Drying: Spread the pods out in the sun during the day and store them in airtight containers at night. This process can take several weeks.
- Conditioning: Store the dried pods in a cool, dark place for several months to allow the flavor to develop fully.