Fermented Garlic
Fermented garlic extract by lactic acid bacteria may ameliorate diet induced obesity
Recipe ;Brined, pickled garlic
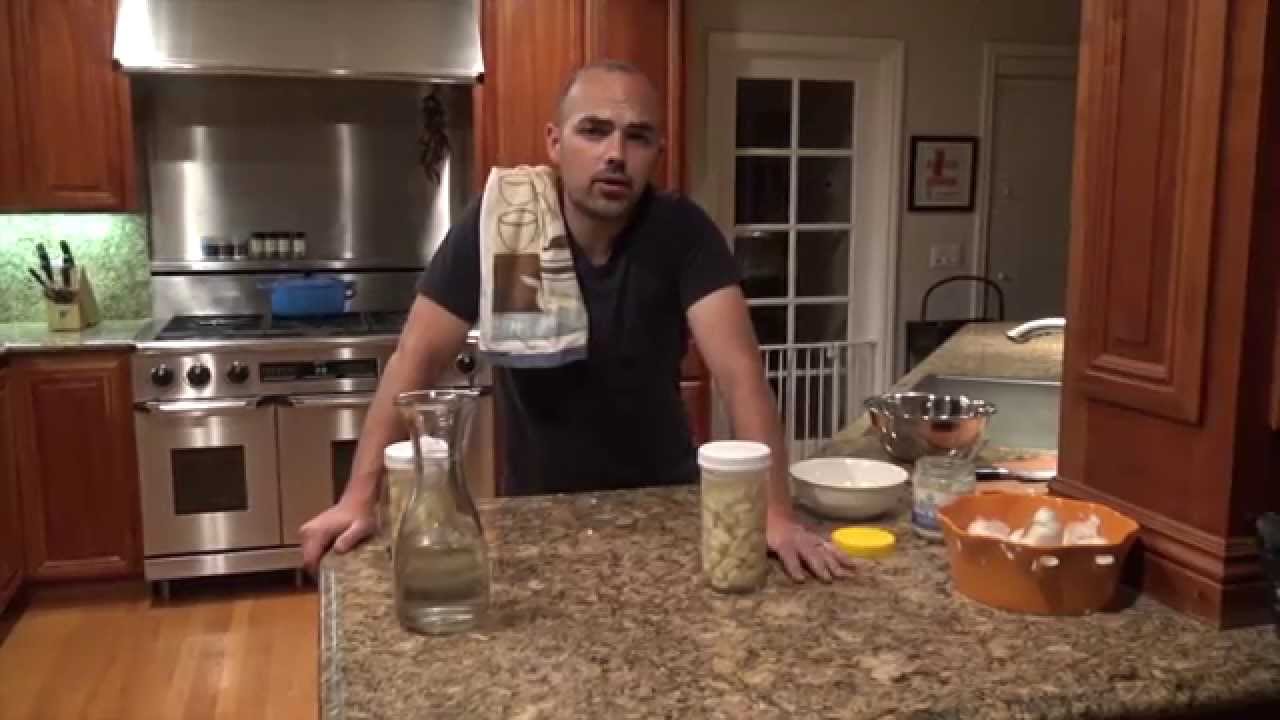
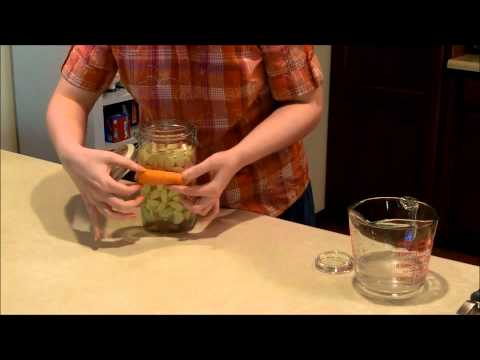
How to Make Fermented Garlic Honey

Fermented Garlic: A Step-by-Step Guide
Fermented garlic is a flavorful and nutritious addition to any kitchen. The fermentation process not only enhances the garlic's taste but also boosts its health benefits by increasing the presence of probiotics. This guide will walk you through the process of making your own fermented garlic at home.
Benefits of Fermented Garlic
Before diving into the process, it's important to understand why fermented garlic is worth the effort:
- Probiotics: Fermentation introduces beneficial bacteria that support gut health.
- Enhanced Nutrients: The process can increase the bioavailability of nutrients.
- Improved Digestion: Fermented foods are generally easier to digest.
- Rich Flavor: Fermentation mellows the sharpness of raw garlic, resulting in a complex, savory taste.
Ingredients and Equipment
To make fermented garlic, you'll need the following:
Ingredients
- Fresh garlic bulbs (as many as you like)
- Non-iodized salt (such as sea salt or kosher salt)
- Filtered water
Equipment
- A clean glass jar with a lid
- A fermentation weight or a small, clean rock
- A clean cloth or paper towel
- A rubber band or string
Preparation Steps
- Peel the Garlic: Start by separating the garlic cloves from the bulb. Peel each clove, ensuring that you remove all the papery skin. This can be a bit tedious, but it's essential for the fermentation process.
- Prepare the Brine: In a separate bowl, dissolve 1 tablespoon of non-iodized salt in 2 cups of filtered water. This will create a brine solution that helps preserve the garlic and encourages fermentation.
- Pack the Jar: Place the peeled garlic cloves into the glass jar. Pack them tightly but leave about an inch of space at the top to allow for expansion during fermentation.
- Add the Brine: Pour the brine over the garlic cloves, ensuring they are completely submerged. It's crucial that the garlic remains under the brine to prevent mold growth.
- Weigh Down the Garlic: Use a fermentation weight or a small, clean rock to keep the garlic submerged. This step is important to maintain an anaerobic environment, which is necessary for proper fermentation.
- Cover the Jar: Place a clean cloth or paper towel over the jar's opening and secure it with a rubber band or string. This allows gases to escape while keeping dust and insects out.
Fermentation Process
- Initial Fermentation: Place the jar in a cool, dark place, such as a pantry or cupboard. The ideal temperature for fermentation is between 60-75°F (15-24°C).
- Monitor the Process: Check the garlic daily to ensure it remains submerged. You may notice bubbles forming, which is a sign of active fermentation. If any garlic floats above the brine, press it back down.
- Taste Test: After about a week, taste a clove to see if it has reached your desired level of fermentation. The garlic should have a tangy, slightly sour flavor. If you prefer a stronger taste, allow it to ferment for up to three weeks.
- Seal and Store: Once the garlic has fermented to your liking, seal the jar with a lid and store it in the refrigerator. The cold temperature will slow down the fermentation process and preserve the garlic for several months.
Tips for Success
- Use Fresh Garlic: The fresher the garlic, the better the fermentation results. Avoid using garlic that is sprouting or has soft spots.
- Avoid Iodized Salt: Iodized salt can inhibit the fermentation process, so stick to non-iodized varieties.
- Keep It Submerged: Always ensure the garlic is fully submerged in the brine to prevent spoilage.