Bath Bombs
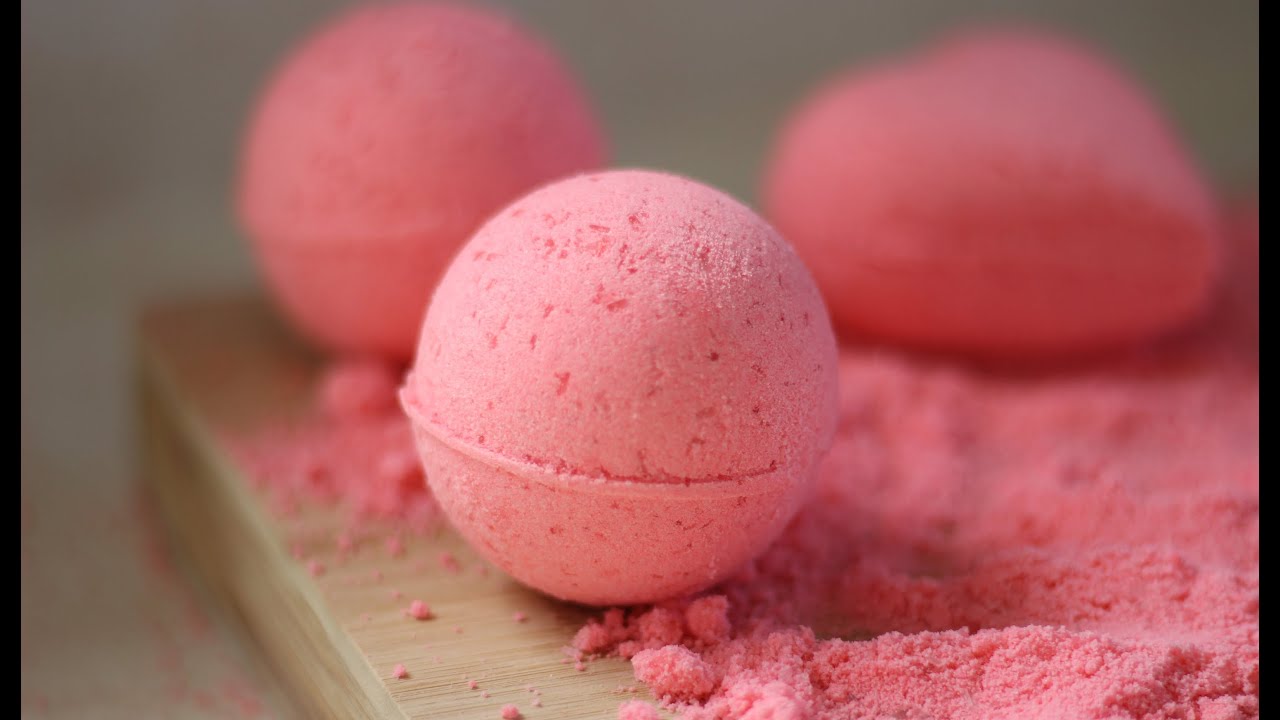
Bath bombs are a delightful way to enhance your bathing experience, adding fizz, color, and soothing scents to your bathwater. Making your own bath bombs at home is not only fun but also allows you to customize them to your preferences.
Ingredients and Supplies
To get started, you'll need the following ingredients and supplies:
Basic Ingredients
- Baking soda (1 cup)
- Citric acid (1/2 cup)
- Cornstarch (1/2 cup)
- Epsom salt (1/2 cup)
- Water (2-3 teaspoons)
- Essential oils (10-20 drops, depending on preference)
- Food coloring (optional, a few drops)
- Carrier oil (such as coconut oil, almond oil, or olive oil, 2-3 teaspoons)
Optional Add-ins
- Dried flowers or herbs (e.g., lavender, rose petals)
- Glitter (biodegradable is best)
- Small toys or trinkets (for a fun surprise inside the bath bomb)
Supplies
- Mixing bowls
- Whisk
- Spray bottle
- Bath bomb molds (silicone molds, plastic ornaments, or even muffin tins)
Step-by-Step Instructions
1. Mix the Dry Ingredients
In a large mixing bowl, combine the baking soda, citric acid, cornstarch, and Epsom salt. Use a whisk to thoroughly blend the ingredients, ensuring there are no clumps.
2. Combine the Wet Ingredients
In a separate small bowl, mix together the water, essential oils, food coloring, and carrier oil. If you're using multiple colors or scents, you can divide the wet mixture into separate bowls.
3. Slowly Add Wet to Dry
Gradually add the wet mixture to the dry ingredients, a few drops at a time. It's crucial to add the liquid slowly to prevent the mixture from fizzing prematurely. Use your hands to mix everything together until the consistency resembles damp sand. If the mixture is too dry, add a few more drops of water.
4. Pack the Mixture into Molds
Firmly press the mixture into your chosen molds. If you're using a two-part mold, overfill each half slightly before pressing them together. Make sure to pack the mixture tightly to avoid any air pockets.
5. Let the Bath Bombs Dry
Allow the bath bombs to dry in the molds for at least 24 hours. If you're in a humid environment, it may take longer. Once they're completely dry, gently remove them from the molds.
Tips for Success
- Avoid Over-Wetting: Adding too much liquid can cause the bath bombs to fizz prematurely. Add the wet ingredients slowly and mix thoroughly.
- Humidity Matters: High humidity can affect the drying process. If you live in a humid area, consider using a dehumidifier or drying the bath bombs in an air-conditioned room.
- Experiment with Scents and Colors: Feel free to get creative with different essential oils and food coloring combinations. Just remember that a little goes a long way.
- Test a Small Batch First: If you're new to making bath bombs, start with a small batch to get a feel for the process before making larger quantities.
Storing Your Bath Bombs
Once your bath bombs are completely dry, store them in an airtight container to keep them fresh. Moisture can cause them to lose their fizz, so it's essential to keep them in a dry place. Properly stored bath bombs can last for several months.
Enjoying Your Bath Bombs
To use your bath bomb, simply fill your bathtub with warm water and drop the bath bomb in. Watch as it fizzes and dissolves, releasing its delightful scent and color into the water. Relax and enjoy the soothing experience.