Lip Gloss
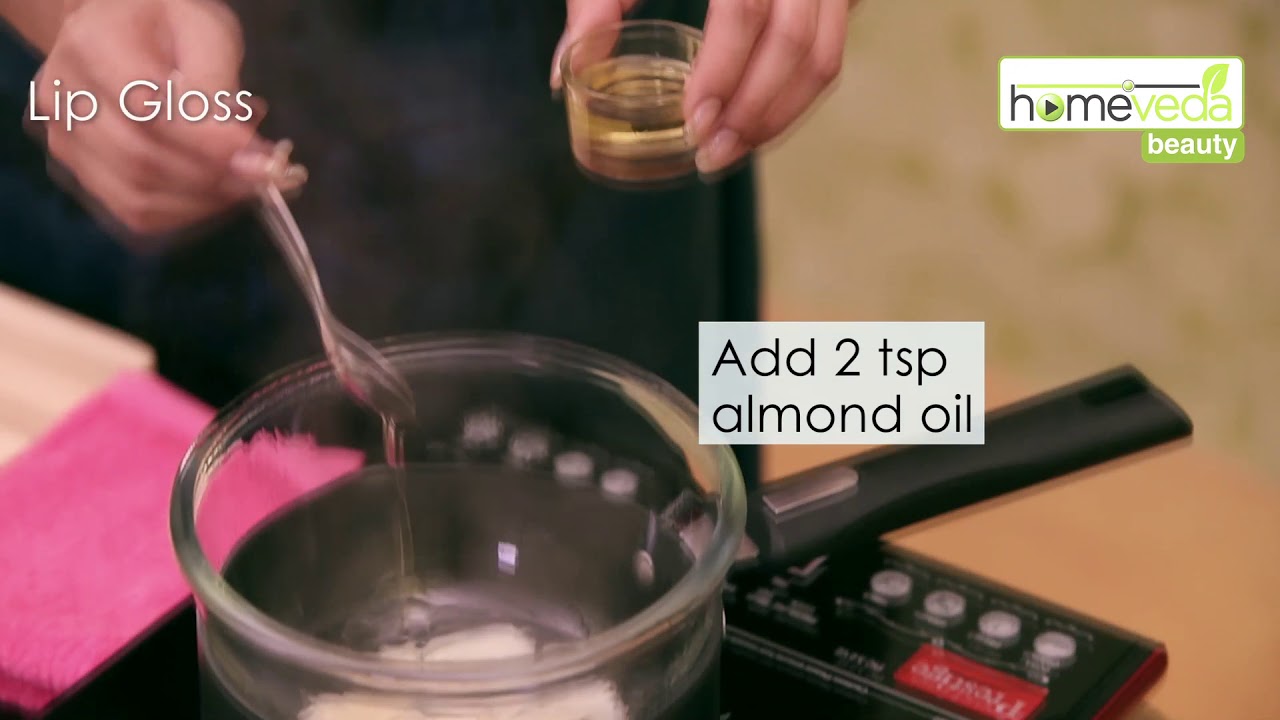
Creating your own lip gloss at home is a fun and rewarding process that allows you to customize the color, texture, and scent to your liking. Not only is it a creative endeavor, but it also ensures that you know exactly what ingredients are going onto your lips. This guide will walk you through the basics of making homemade lip gloss, including the necessary ingredients, tools, and steps to achieve a perfect, personalized product.
Benefits of Homemade Lip Gloss
- Customization: You can tailor the color, flavor, and texture to suit your preferences.
- Natural Ingredients: By making your own, you can avoid harmful chemicals and use natural, skin-friendly ingredients.
- Cost-Effective: Homemade lip gloss can be more economical than store-bought options.
- Eco-Friendly: Reduce waste by reusing containers and choosing sustainable ingredients.
Essential Ingredients
To make a basic lip gloss, you'll need a few key ingredients. These can be adjusted or substituted based on your preferences:
- Base: A good base is crucial for the texture of your lip gloss. Common options include:
* Beeswax: Provides structure and a slight sheen.
* Shea Butter: Offers a creamy texture and is highly moisturizing.
* Coconut Oil: Adds shine and is easily absorbed by the skin.
- Carrier Oils: These oils help to dilute essential oils and add moisture. Popular choices are:
* Jojoba Oil: Closely resembles the skin's natural oils.
* Sweet Almond Oil: Lightweight and nourishing.
* Olive Oil: Rich in vitamins and antioxidants.
- Colorants: For adding color, you can use:
* Mica Powders: Available in a variety of shades and provide a shimmering effect.
* Beetroot Powder: A natural option for a pinkish hue.
* Cocoa Powder: For a subtle brown tint.
- Flavor and Scent: Essential oils can add a pleasant aroma and taste. Consider:
* Peppermint Oil: Refreshing and invigorating.
* Vanilla Extract: Sweet and comforting.
* Lavender Oil: Calming and soothing.
- Optional Additives: Enhance your lip gloss with:
* Vitamin E Oil: Acts as a preservative and provides additional moisture.
* Honey: Adds sweetness and extra hydration.
Tools You'll Need
- Small heatproof bowl or double boiler
- Measuring spoons
- Stirring utensil (like a small spatula or spoon)
- Lip gloss containers (tubes or small pots)
- Dropper (for precise measurement of essential oils)
Step-by-Step Guide
- Prepare Your Workspace: Clean your work area and gather all ingredients and tools. Ensure your containers are sterilized to prevent contamination.
- Melt the Base Ingredients: In a heatproof bowl or double boiler, combine your chosen base ingredients (e.g., beeswax, shea butter, coconut oil). Heat gently until fully melted, stirring occasionally.
- Add Carrier Oils: Once the base is melted, remove from heat and add your carrier oils. Stir well to combine.
- Incorporate Colorants: Gradually add your chosen colorants, mixing thoroughly to achieve the desired shade. Adjust the amount based on the intensity of color you prefer.
- Add Flavor and Scent: Using a dropper, add a few drops of essential oils for flavor and scent. Stir to ensure even distribution.
- Optional Additives: If using, add vitamin E oil and honey at this stage. Mix well.
- Pour into Containers: Carefully pour the mixture into your prepared lip gloss containers. Allow to cool and solidify completely before sealing.
- Label and Store: Label your lip gloss with the date and ingredients used. Store in a cool, dry place to maintain freshness.
Tips for Success
- Experiment with Ratios: Adjust the ratio of ingredients to achieve your preferred consistency and finish.
- Patch Test: Always perform a patch test with new ingredients to ensure no allergic reactions.
- Keep It Clean: Use clean tools and containers to prevent bacterial growth.